Create a background
In this lesson we will use some of the tools we have learnt about to create our own background.
In this lesson we will use some of the tools we have learnt about to create our own background.
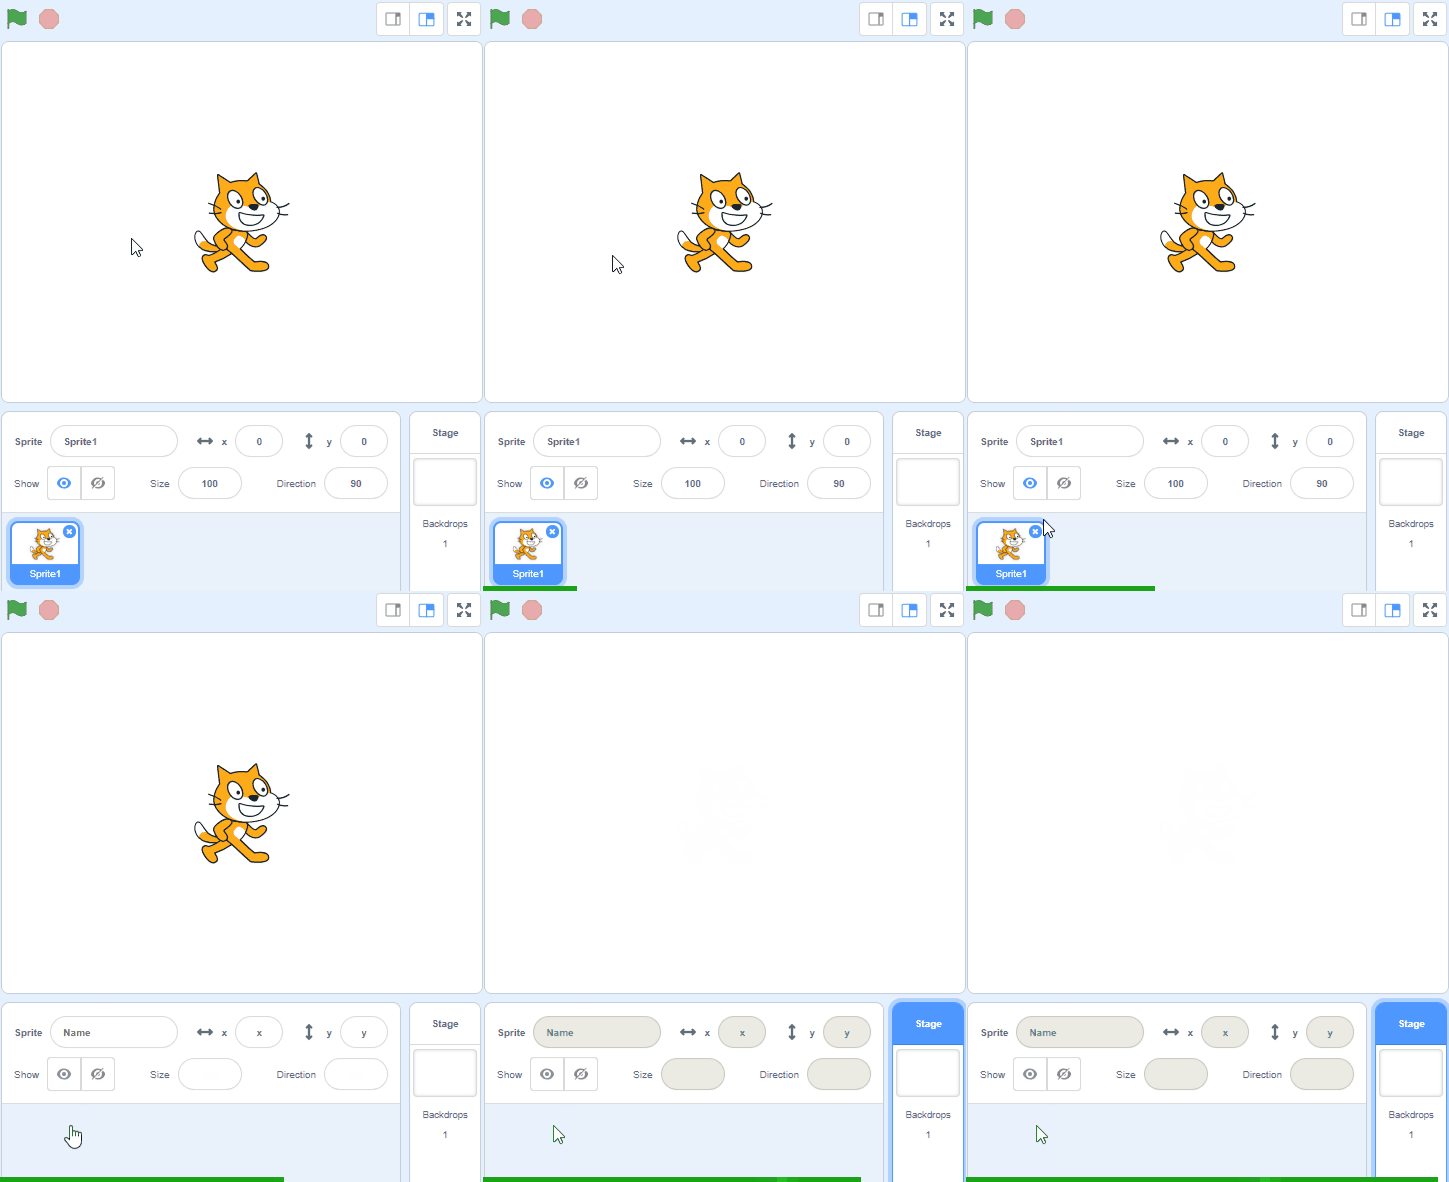
In this lesson we're going to use the Scratch website to create some digital art. Open the website using the link below and create a new project. Delete the cat sprite from your project.
Go to the Scratch website using the link below and click on the 'Create' link in the blue bar at the top.
By default, each new project starts with the cat sprite already added. To delete the cat click on the x in the blue circle beside the cat in the sprite list.
In Scratch, backgrounds are called "backdrops".
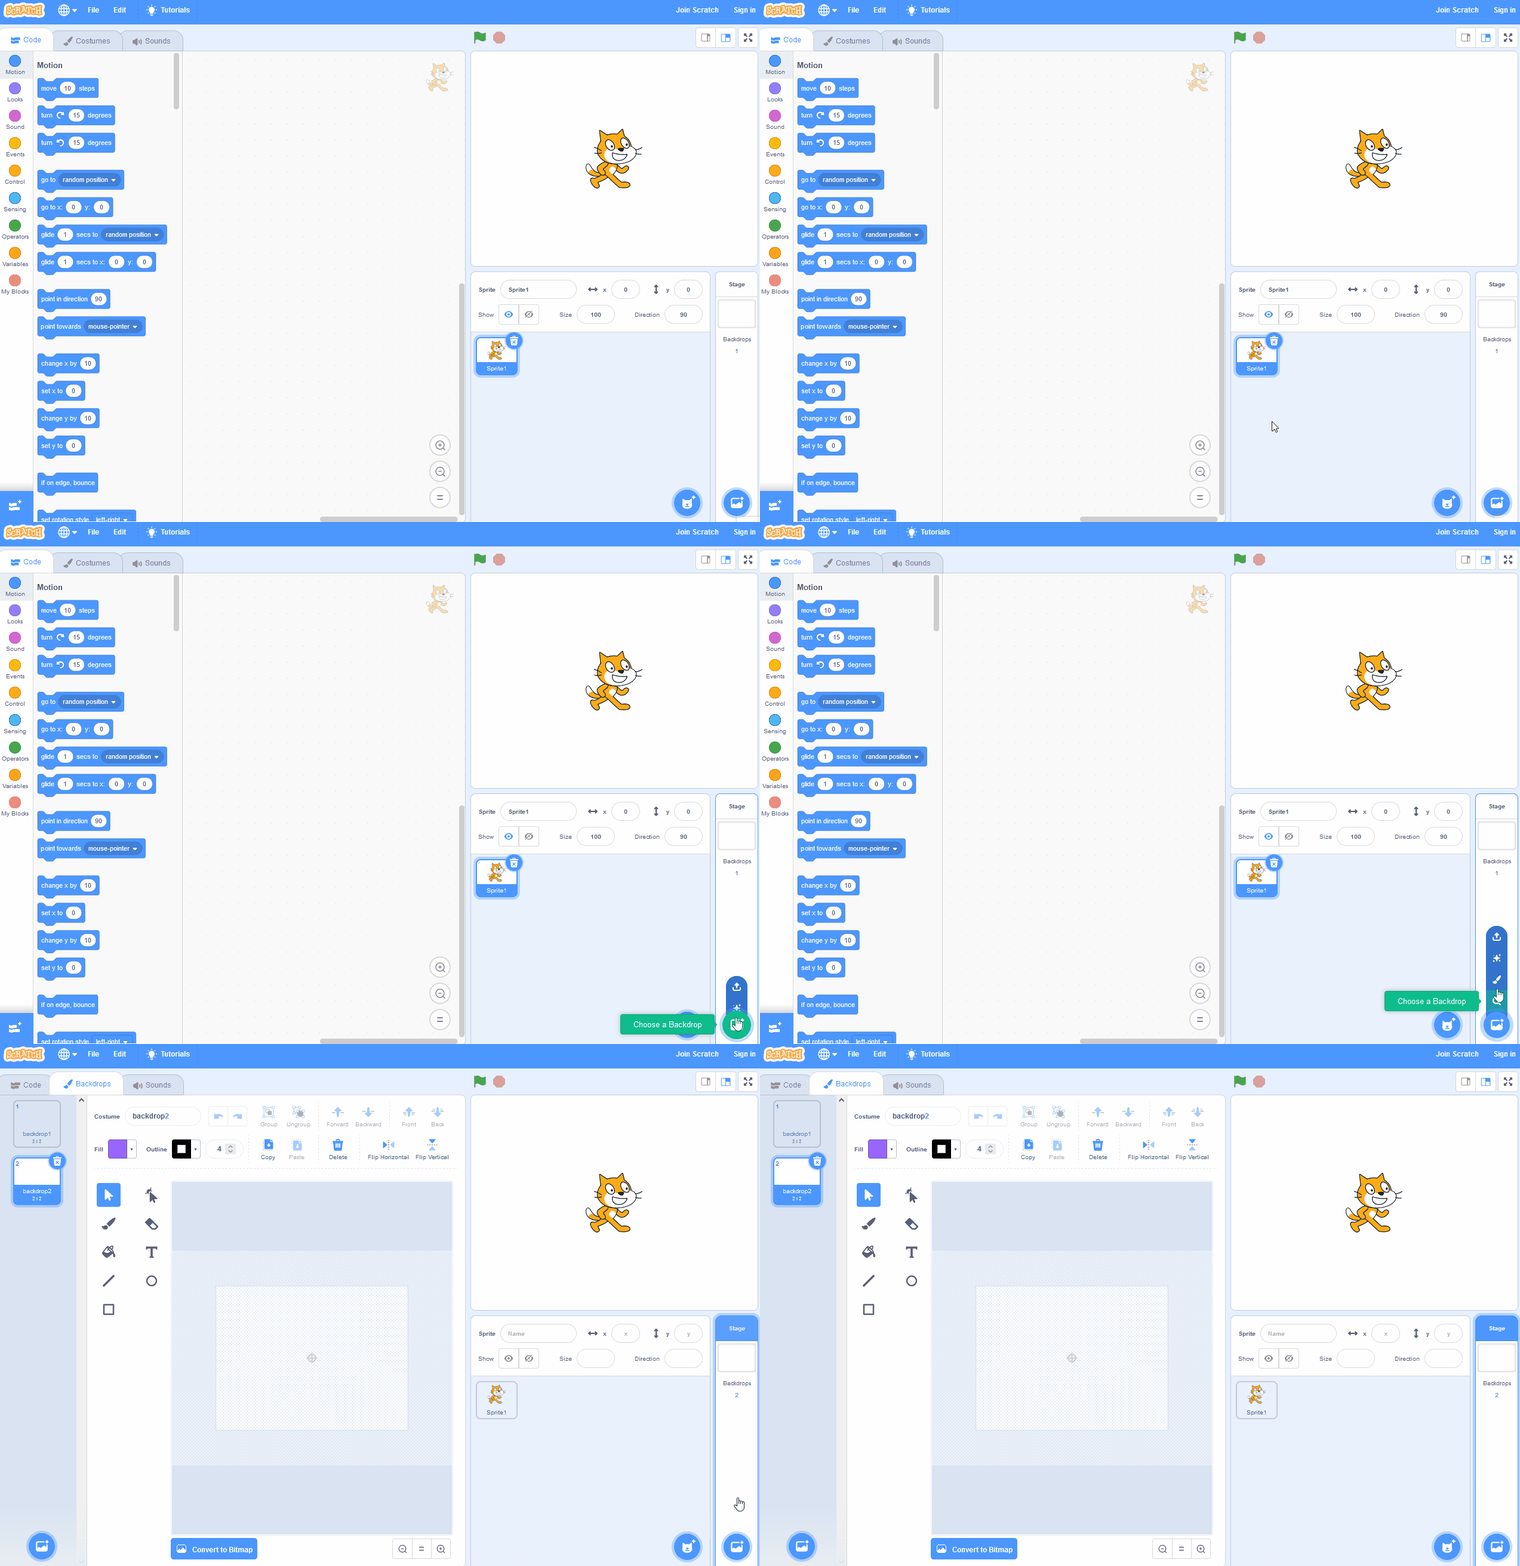
Create a new backdrop.
You can create your own backdrops using the backdrop editor. To create a new backdrop put your mouse over the Choose a Backdrop button and then click on the paintbrush.
This create a blank backdrop and will open the backdrop editor where you can use the tools to create your backdrop.
We're going to draw a backdrop with the sky, mountains, clouds and birds.
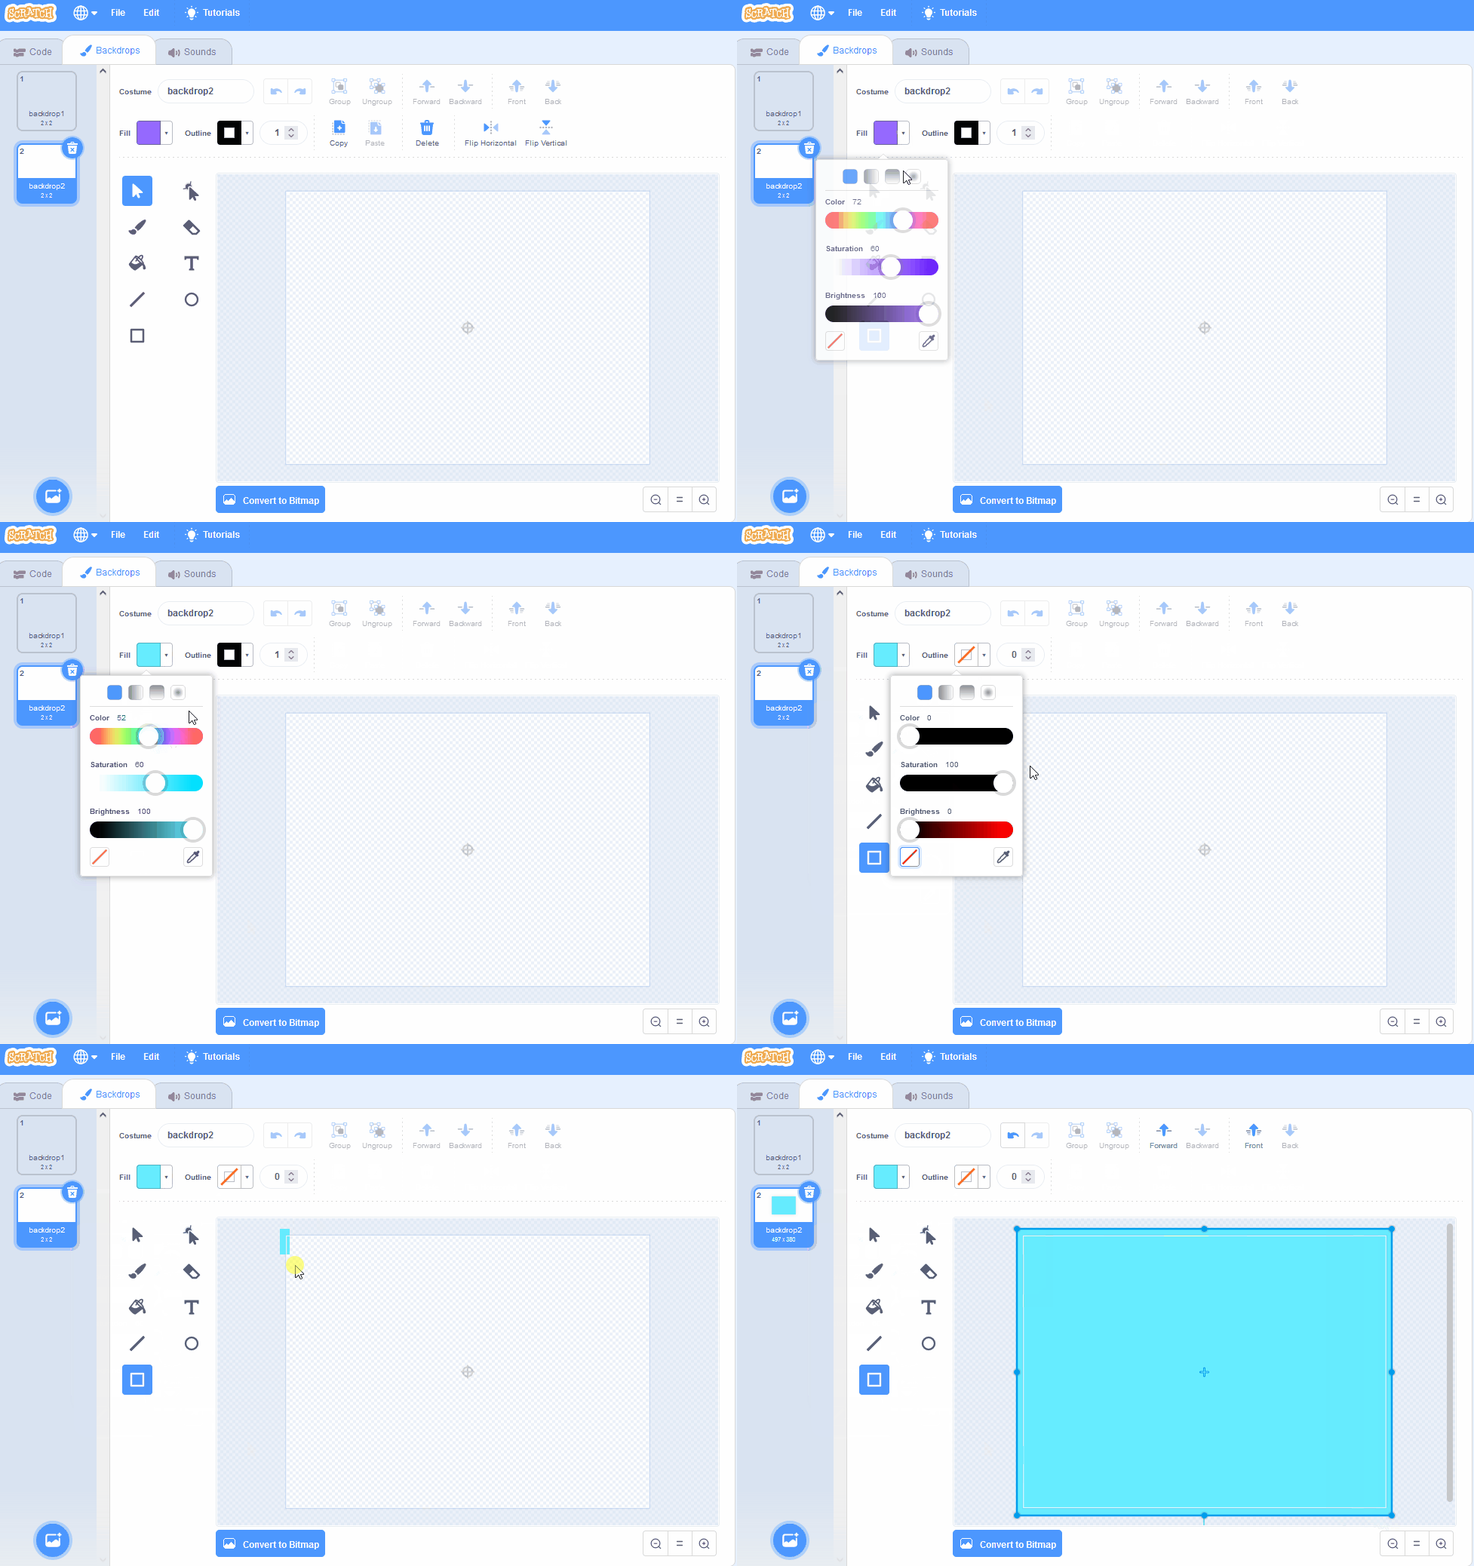
First let's create the sky.
Perspectives are the different levels of a picture or scene that show how things are positioned relative to each other. There are three main perspectives in a picture: foreground, middleground, and background.
By understanding these perspectives, you will be able to create pictures that have depth and that appear to be three-dimensional. They will also be able to position objects in their pictures in a way that makes sense and that creates a sense of distance and proximity.
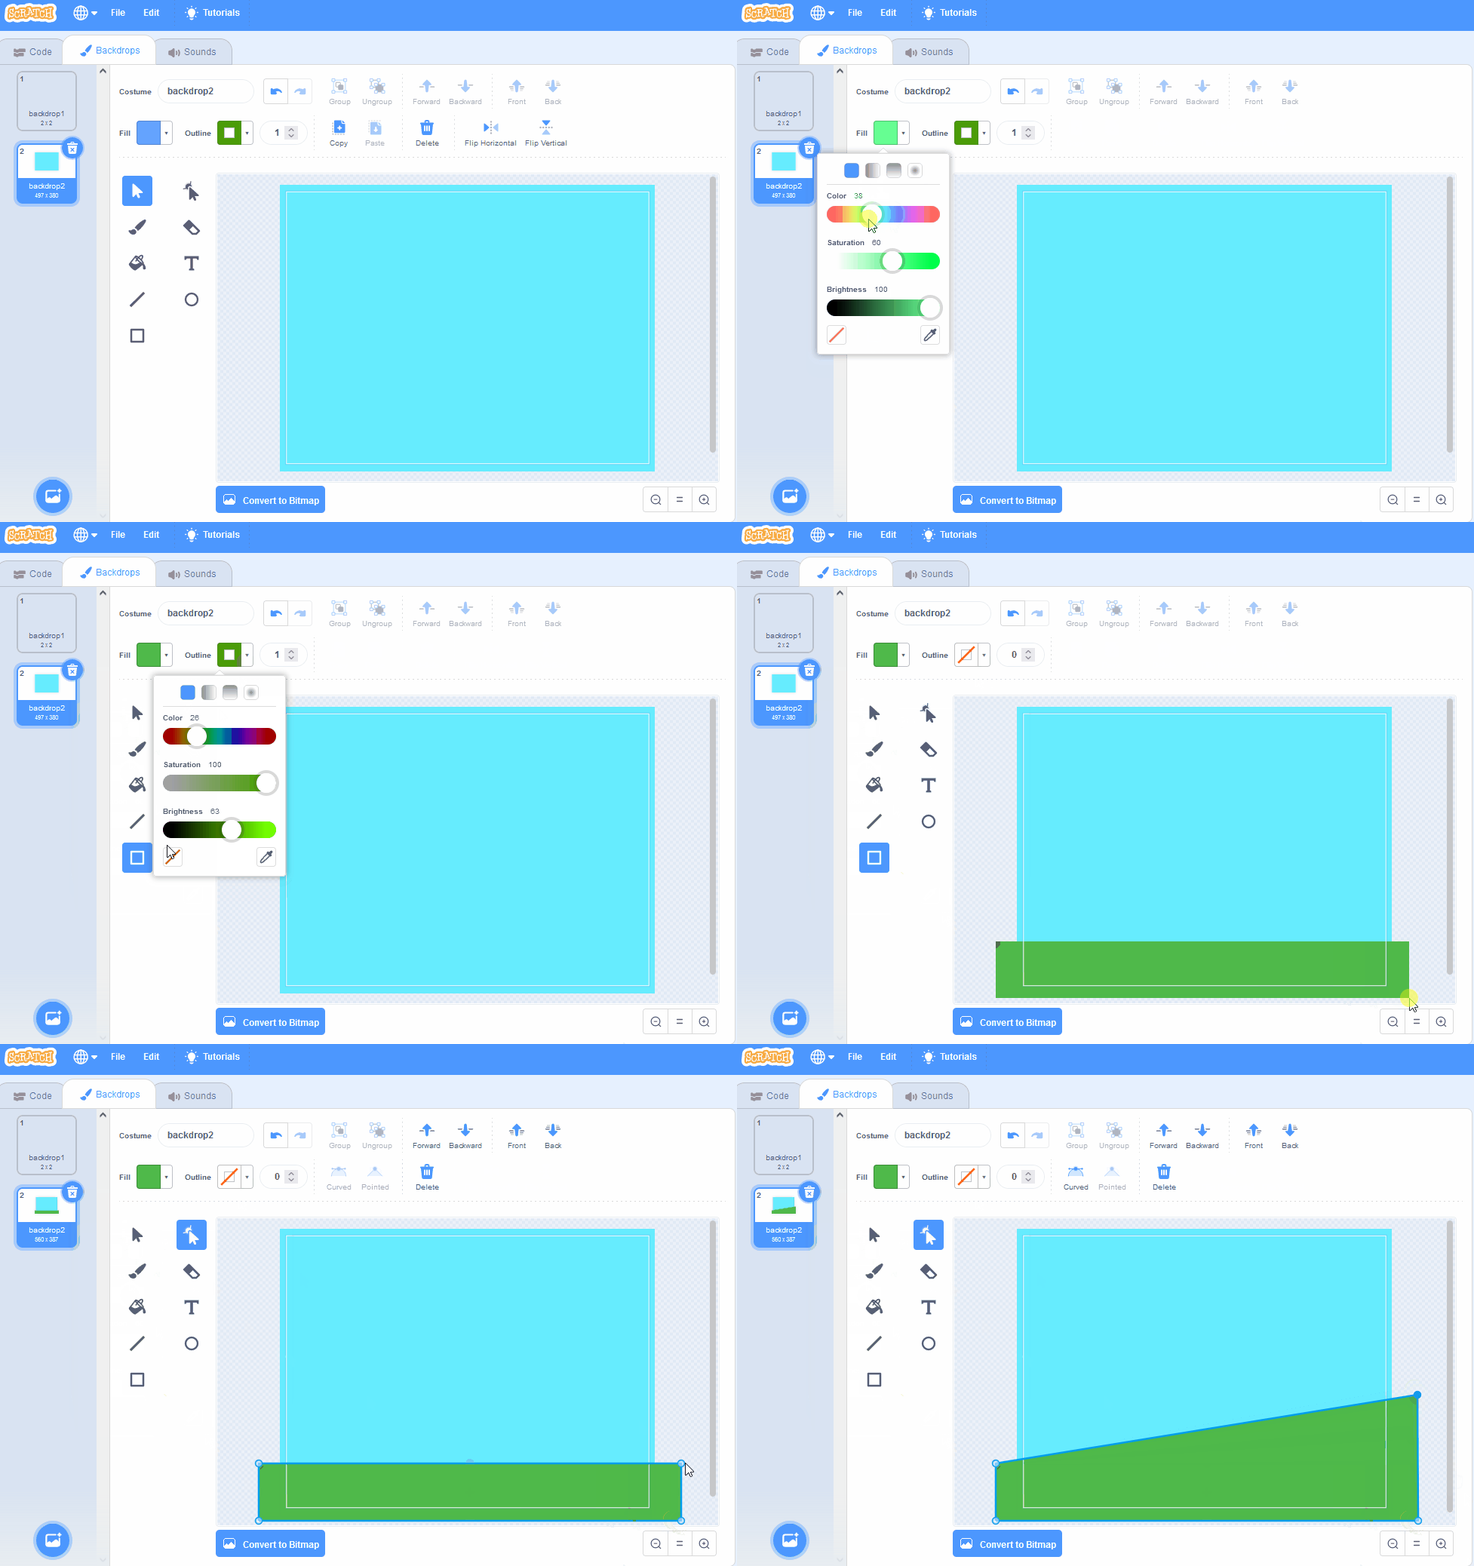
Next let's draw a mountain in the foreground.


